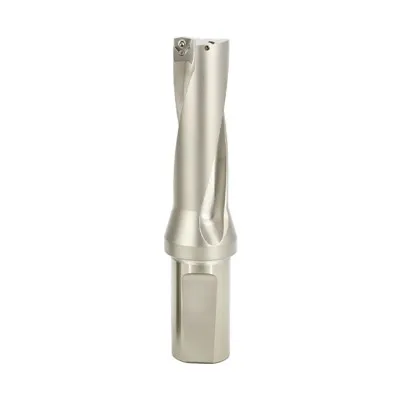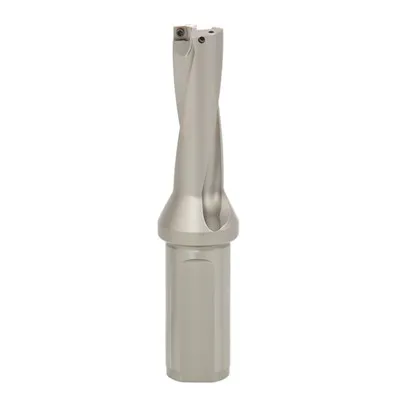
Hey there, fellow machining enthusiasts! I'm a supplier of face mill cutter heads, and today I'm gonna walk you through the process of installing these bad boys on a milling machine. Whether you're a seasoned pro or just starting out in the world of machining, getting the installation right is crucial for a smooth and efficient operation.
Why Proper Installation Matters
Before we dive into the nitty - gritty of the installation process, let's quickly talk about why it's so important. A well - installed face mill cutter head ensures accurate cuts, reduces vibration, and extends the life of both the cutter head and the milling machine. On the flip side, a poorly installed cutter head can lead to uneven cuts, excessive wear and tear, and even pose a safety risk. So, let's do it right!
Tools You'll Need
First things first, gather the necessary tools. You'll need a set of wrenches, a torque wrench, a clean cloth, and some cutting fluid. The wrenches are for tightening the bolts that hold the cutter head in place, and the torque wrench is essential to ensure you're applying the correct amount of force. The clean cloth is for wiping down the mating surfaces, and the cutting fluid will help lubricate the cutter head during operation.
Step 1: Prepare the Milling Machine
Start by turning off the milling machine and unplugging it from the power source. This is a safety measure that can't be skipped. Next, clean the spindle nose of the milling machine. Use the clean cloth to remove any dirt, debris, or old cutting fluid. A clean spindle nose ensures a proper fit between the cutter head and the machine.
Step 2: Select the Right Cutter Head
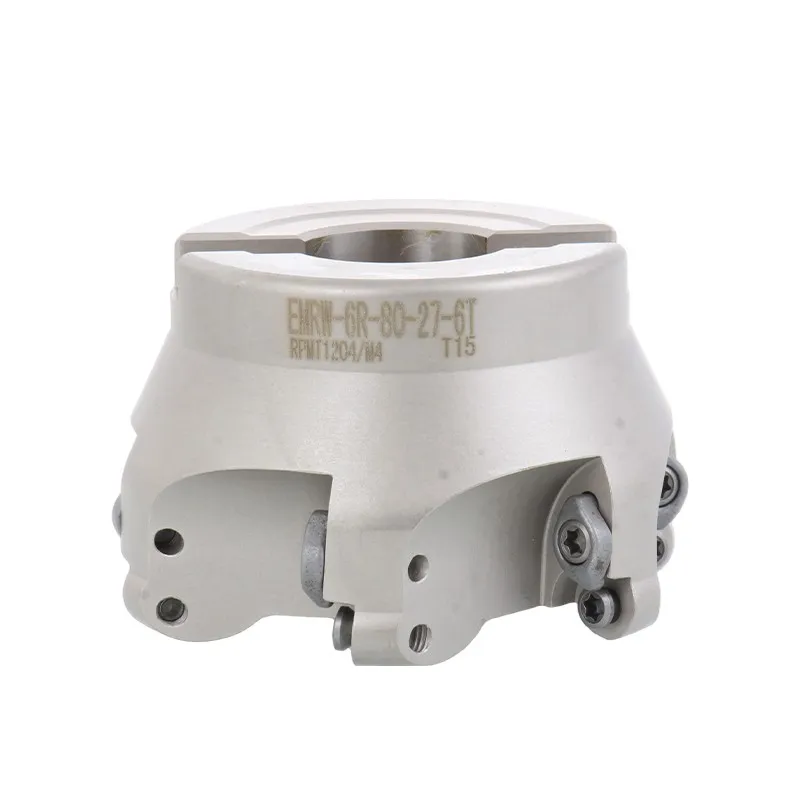
We offer a variety of face mill cutter heads to suit different machining needs. For example, if you're looking for a cutter head that can handle rounded edges, check out our Round Nose Face Milling Cutter. If you need a cutter head for making 90 - degree cuts, our 90 Face Milling Cutter is a great option. And for heavy - duty roughing, the 75 Heavy - Duty Roughing Face Milling Cutter is the way to go.

Step 3: Inspect the Cutter Head
Before installing the cutter head, give it a thorough inspection. Look for any signs of damage, such as chips or cracks on the cutting edges. Also, check the mounting surfaces of the cutter head for any dirt or burrs. If you find any issues, don't use the cutter head. Instead, contact us for a replacement.
Step 4: Install the Cutter Head
Now it's time to install the cutter head on the milling machine. Carefully align the cutter head with the spindle nose. Make sure the mounting holes on the cutter head line up with the holes on the spindle. Once it's aligned, insert the bolts through the holes and hand - tighten them. Don't fully tighten the bolts just yet.
Step 5: Tighten the Bolts
Use the torque wrench to tighten the bolts to the manufacturer's recommended torque settings. Over - tightening can damage the cutter head and the machine, while under - tightening can cause the cutter head to come loose during operation. Follow the torque specifications provided in the cutter head's manual.
Step 6: Check the Alignment
After tightening the bolts, check the alignment of the cutter head. You can use a dial indicator to measure the runout of the cutter head. A runout of less than 0.001 inches is generally acceptable. If the runout is too high, you may need to loosen the bolts and readjust the cutter head.
Step 7: Apply Cutting Fluid
Before starting the milling machine, apply some cutting fluid to the cutter head. The cutting fluid helps to cool the cutter head and the workpiece, reduces friction, and improves the quality of the cut. Make sure the cutting fluid is evenly distributed on the cutting edges of the cutter head.
Step 8: Test the Installation
Once everything is set up, turn on the milling machine and run a test cut on a scrap piece of material. Observe the operation of the cutter head. Look for any signs of vibration, unusual noises, or uneven cuts. If everything looks good, you're ready to start your actual machining project.
Troubleshooting
If you encounter any problems during the installation or operation of the cutter head, here are some common issues and solutions:
- Vibration: Vibration can be caused by an unbalanced cutter head, improper alignment, or worn - out machine components. Check the alignment of the cutter head and make sure it's balanced. If the problem persists, inspect the machine for any worn parts.
- Uneven cuts: Uneven cuts can be due to a dull cutter head, incorrect feed rate, or improper depth of cut. Replace the cutter head if it's dull, adjust the feed rate, and make sure the depth of cut is set correctly.
- Cutter head coming loose: This is usually caused by under - tightening the bolts. Use the torque wrench to re - tighten the bolts to the correct torque.
Conclusion
Installing a face mill cutter head on a milling machine may seem like a daunting task, but with the right tools and a little know - how, it's actually quite straightforward. Remember to follow the steps carefully, use the correct torque settings, and check the alignment. If you have any questions or need further assistance, don't hesitate to reach out to us. We're here to help you get the most out of our face mill cutter heads. Whether you're a small - scale workshop or a large - scale manufacturing facility, we have the right cutter head for your needs. So, if you're in the market for high - quality face mill cutter heads, let's start a conversation about your requirements. We look forward to working with you!
References
- Milling Machine Operator's Manual
- Face Mill Cutter Head Manufacturer's Instructions