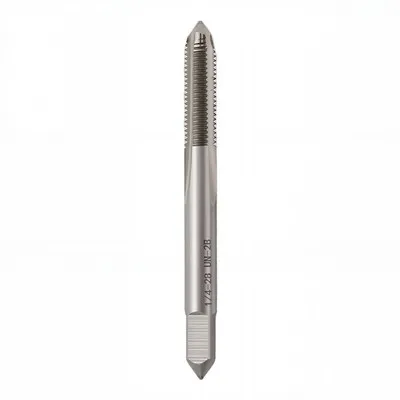
Concentricity is a critical factor in the performance of milling cutter holders. As a milling cutter holders supplier, I understand the importance of ensuring that our products meet the highest standards of concentricity. In this blog post, I will share some methods on how to check the concentricity of a milling cutter holder.
Why Concentricity Matters
Before delving into the checking methods, let's briefly understand why concentricity is so crucial. A milling cutter holder with poor concentricity can lead to a variety of problems. Firstly, it can cause uneven cutting forces. When the cutter is not centered properly in the holder, the cutting edges will experience different levels of stress during the machining process. This uneven stress distribution can result in premature wear of the cutter, reducing its lifespan and increasing the cost of tool replacement.
Secondly, poor concentricity can affect the surface finish of the workpiece. The irregular cutting forces can cause vibrations, which in turn lead to rough surfaces and inaccurate dimensions. This is especially critical in high - precision machining applications where tight tolerances are required.
Methods for Checking Concentricity
Using a Dial Indicator
One of the most common and effective methods for checking the concentricity of a milling cutter holder is by using a dial indicator. Here are the steps:
-
Mount the Dial Indicator


- First, you need to mount the dial indicator on a stable base. A magnetic base is often a good choice as it can be easily attached to the milling machine table or a fixture. Make sure the base is firmly fixed to prevent any movement during the measurement.
- Position the dial indicator so that its probe can make contact with the outer surface of the milling cutter holder or the shank of the cutter if it is already installed in the holder.
-
Zero the Indicator
- Rotate the cutter holder slowly by hand. As you do this, adjust the position of the dial indicator so that the needle points to zero when the probe is at the highest point of the surface being measured. This initial zeroing is crucial for accurate measurement.
-
Measure the Deviation
- Continue to rotate the cutter holder through a full 360 - degree rotation. Observe the movement of the dial indicator needle. The maximum deviation from the zero position indicates the amount of concentricity error. A small deviation, typically within a few micrometers, is considered acceptable for most applications. However, in high - precision machining, even smaller deviations may be required.
Optical Inspection
Optical inspection methods can also be used to check the concentricity of a milling cutter holder. This involves using an optical comparator or a coordinate measuring machine (CMM).
-
Optical Comparator
- An optical comparator projects an enlarged image of the milling cutter holder onto a screen. By comparing the projected image with a standard template or reference, you can visually detect any concentricity issues. This method is relatively quick and can provide a general assessment of the concentricity.
- To use an optical comparator, place the milling cutter holder on the comparator's stage. Adjust the lighting and magnification settings to obtain a clear image. Then, compare the position of the center of the holder with the reference markings on the screen.
-
Coordinate Measuring Machine (CMM)
- A CMM is a more precise and advanced tool for measuring concentricity. It uses a probe to measure the coordinates of multiple points on the surface of the milling cutter holder. The data collected by the CMM is then analyzed using specialized software to calculate the concentricity.
- The process of using a CMM involves programming the machine to measure specific points on the holder. The probe is then moved along the surface of the holder, collecting data at each point. The software then processes this data to determine the center of the holder and calculate the deviation from the ideal center.
Impact of Concentricity on Different Types of Milling Cutter Holders
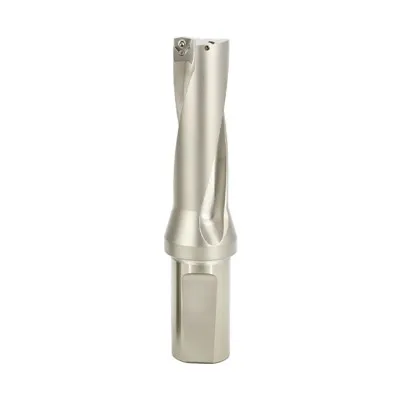
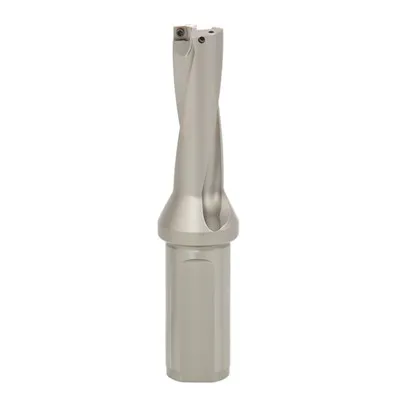
Different types of milling cutter holders may have different requirements for concentricity. For example, the EMR Round Nose Milling Arbor is often used in applications where a smooth and precise cut is required. In such cases, high concentricity is essential to ensure the quality of the cut. Any deviation in concentricity can result in a rough surface finish and inaccurate dimensions.
The 300R CNC Milling Arbor is designed for use in CNC milling machines. These machines operate at high speeds and require high - precision tooling. A milling cutter holder with poor concentricity can cause vibrations and reduce the accuracy of the machining process. Therefore, it is crucial to check the concentricity of the 300R CNC Milling Arbor before use.
The 400R Anti - Vibration Milling Arbor is specifically designed to reduce vibrations during the machining process. However, if the concentricity of the holder is not proper, it can still lead to vibrations and affect the performance of the anti - vibration features. Thus, checking the concentricity is an important step in ensuring the effectiveness of this type of arbor.
Maintaining Concentricity
Once you have checked the concentricity of a milling cutter holder and found it to be within the acceptable range, it is important to maintain it. Here are some tips:
-
Proper Storage
- Store the milling cutter holders in a clean and dry environment. Avoid storing them in a way that can cause damage to the holder or the shank. For example, do not stack heavy objects on top of the holders.
- Use protective caps or sleeves to prevent dust and debris from entering the holder, which can affect the concentricity.
-
Regular Cleaning
- Clean the milling cutter holders regularly to remove any chips, coolant, or other contaminants. Use a suitable cleaning agent and a soft brush to clean the inside and outside of the holder.
- After cleaning, dry the holder thoroughly to prevent rust and corrosion, which can also affect the concentricity.
-
Correct Installation
- When installing a milling cutter in the holder, make sure to follow the manufacturer's instructions carefully. Ensure that the cutter is inserted correctly and tightened to the appropriate torque. Incorrect installation can cause misalignment and affect the concentricity.
Conclusion
Checking the concentricity of a milling cutter holder is a crucial step in ensuring the quality and performance of the machining process. By using methods such as dial indicators, optical inspection, and coordinate measuring machines, you can accurately measure the concentricity and take appropriate actions if there are any issues.
As a milling cutter holders supplier, we are committed to providing high - quality products with excellent concentricity. If you are in the market for milling cutter holders or have any questions about concentricity or our products, please feel free to contact us for a detailed discussion and potential procurement. We look forward to working with you to meet your machining needs.
References
- "Machining Technology Handbook", McGraw - Hill
- "Precision Tooling and Measurement in Manufacturing", John Wiley & Sons