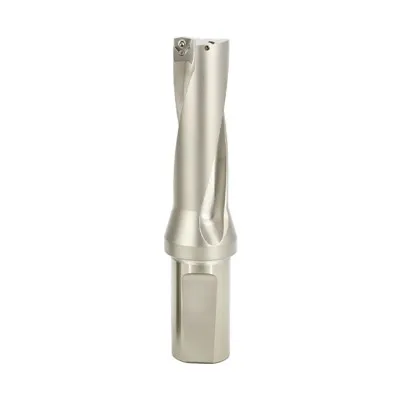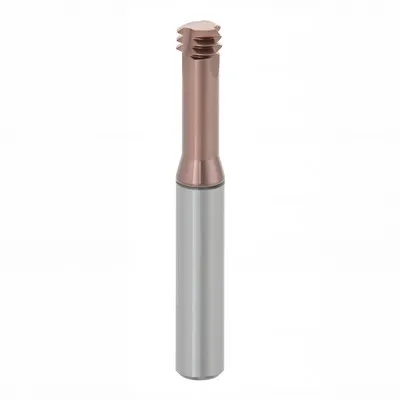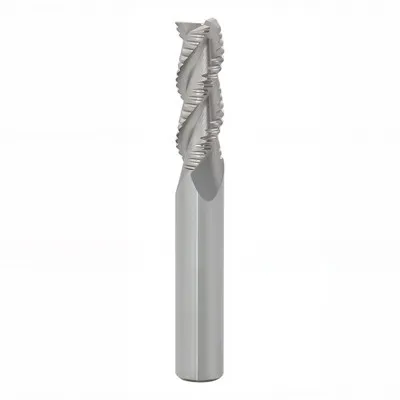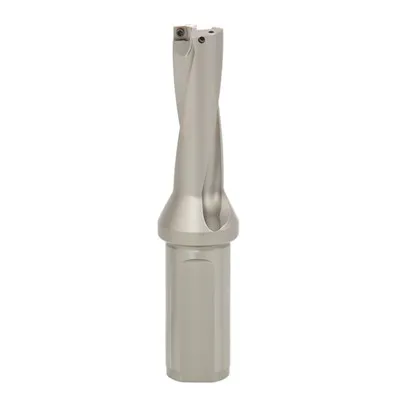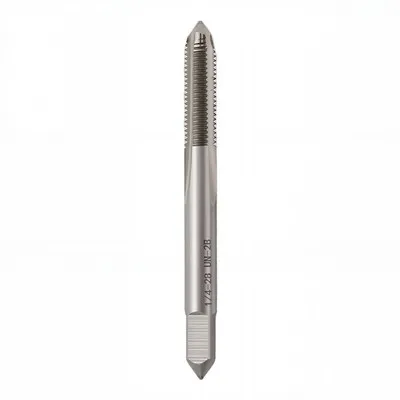
Hey there! As a supplier of F1 boring bars, I often get asked about how to install the insert on an F1 boring bar. It's a crucial step that can significantly impact the performance of your boring operations. So, let's dive right in and break down the process step by step.
First things first, you need to understand the different types of F1 boring bars we offer. We've got the Indexable Boring Bar and the Brazed Boring Bar. Each has its own advantages and is suitable for different applications.
Pre - installation Checks
Before you start installing the insert, it's essential to do a quick inspection. Check the boring bar for any signs of damage, like cracks or chips. A damaged bar can lead to poor performance and even pose a safety risk. Also, make sure the insert seat on the bar is clean. Any debris or dirt can prevent the insert from sitting properly, which will affect the cutting accuracy.
Selecting the Right Insert
Choosing the correct insert is super important. You need to consider factors like the material you'll be cutting, the cutting speed, and the feed rate. For example, if you're cutting a hard material like stainless steel, you'll want an insert with a high - wear resistance. Our team can help you pick the right insert for your specific job.
Tools You'll Need
To install the insert, you'll need a few basic tools. A torque wrench is a must - have. It ensures that you tighten the insert to the correct torque, which is crucial for a secure fit. You'll also need a small brush to clean the insert seat and a pair of tweezers to handle the insert without getting fingerprints on it. Fingerprints can cause corrosion over time.
Installation Steps
Step 1: Clean the Insert and the Seat
Use the small brush to clean the insert seat on the F1 boring bar. Make sure there's no dirt, chips, or coolant residue. Then, take the insert and clean it as well. You can use a mild solvent and a lint - free cloth.
Step 2: Position the Insert
Carefully pick up the insert with the tweezers and place it in the insert seat. Make sure it fits snugly and is properly aligned. The alignment is key to getting a good cutting edge and preventing premature wear.


Step 3: Tighten the Clamping Screw
Once the insert is in place, use the torque wrench to tighten the clamping screw. Refer to the manufacturer's specifications for the correct torque value. Over - tightening can damage the insert or the bar, while under - tightening can cause the insert to move during cutting.
Step 4: Double - Check
After tightening the screw, give the insert a gentle tug to make sure it's secure. Also, visually inspect the insert to ensure it's still properly aligned. If everything looks good, you're ready to start using your F1 boring bar.
Troubleshooting
Sometimes, things don't go as smoothly as planned. If the insert doesn't fit properly, check if there's any damage to the insert or the seat. You might need to replace the insert or clean the seat more thoroughly. If the insert keeps moving during cutting, it could be due to insufficient torque. Use the torque wrench to re - tighten the screw to the correct value.
Maintenance
Proper maintenance is essential to keep your F1 boring bar and insert in top condition. After each use, clean the bar and the insert. Store them in a dry place to prevent rust. Regularly check the insert for wear and replace it when necessary.
Why Choose Our F1 Boring Bars
Our F1 boring bars are made from high - quality materials, which ensures durability and long - lasting performance. We offer a wide range of options, so you can find the perfect bar for your needs. Whether you're a small - scale workshop or a large manufacturing plant, we've got you covered.
If you're interested in purchasing our F1 boring bars or need more information about the installation process, don't hesitate to reach out. We're here to help you with all your boring bar needs. Our team of experts can provide you with personalized advice and support to ensure you get the most out of your F1 boring bar.
Conclusion
Installing the insert on an F1 boring bar might seem like a simple task, but it requires attention to detail. By following the steps outlined above, you can ensure a proper installation and get the best performance from your boring bar. If you have any questions or need further assistance, feel free to contact us. We're always happy to help you with your boring operations.
References
- Machining Handbook, 4th Edition
- Cutting Tool Engineering Magazine, various issues