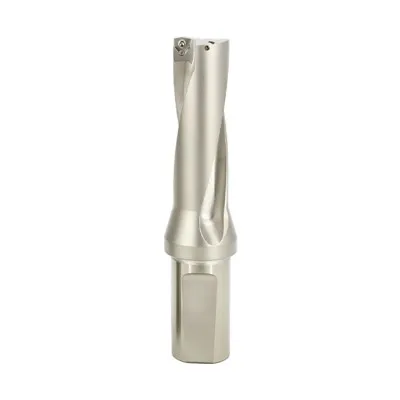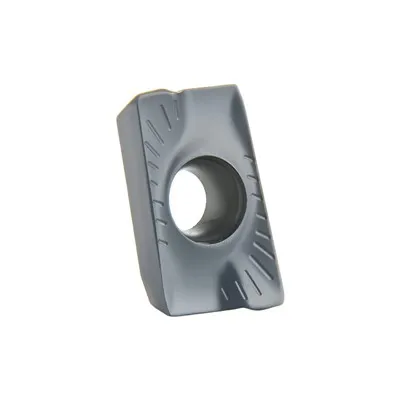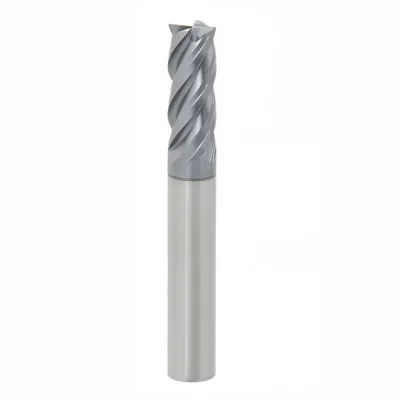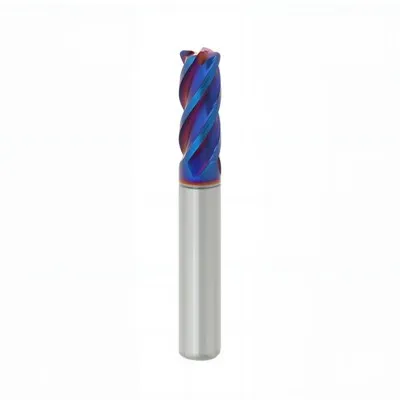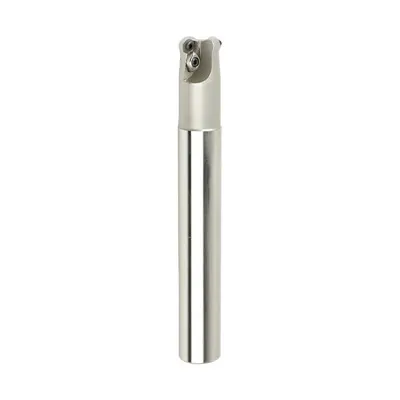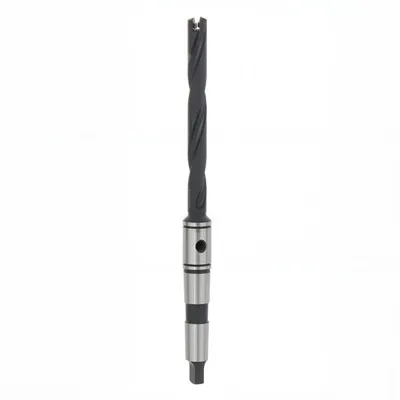
Spade drills are versatile tools widely used in various industries for drilling holes of different sizes. As a spade drill supplier, I understand the importance of providing customers with comprehensive guidance on how to use these drills effectively. In this blog post, I will share some essential tips and techniques for using spade drills to achieve different hole sizes.
Understanding Spade Drills
Before diving into the details of using spade drills, it's important to understand their basic design and functionality. Spade drills consist of a flat, blade-like cutting edge attached to a shank. The cutting edge is typically made of high-speed steel (HSS) or carbide, which provides excellent durability and cutting performance. The shank is designed to fit into a drill chuck or a machine tool spindle.
Spade drills are available in different sizes and configurations to accommodate various drilling applications. They can be used for drilling holes in a wide range of materials, including wood, metal, plastic, and composites. The size of the spade drill is determined by the diameter of the cutting edge, which can range from a few millimeters to several inches.
Selecting the Right Spade Drill
The first step in using a spade drill is to select the right drill for the job. The size of the drill should match the diameter of the hole you want to drill. It's also important to consider the material you will be drilling and the type of machine you will be using.
For example, if you are drilling a small hole in wood, a small-diameter spade drill with a HSS cutting edge may be sufficient. However, if you are drilling a large hole in metal, you may need a larger-diameter spade drill with a carbide cutting edge for better performance and durability.
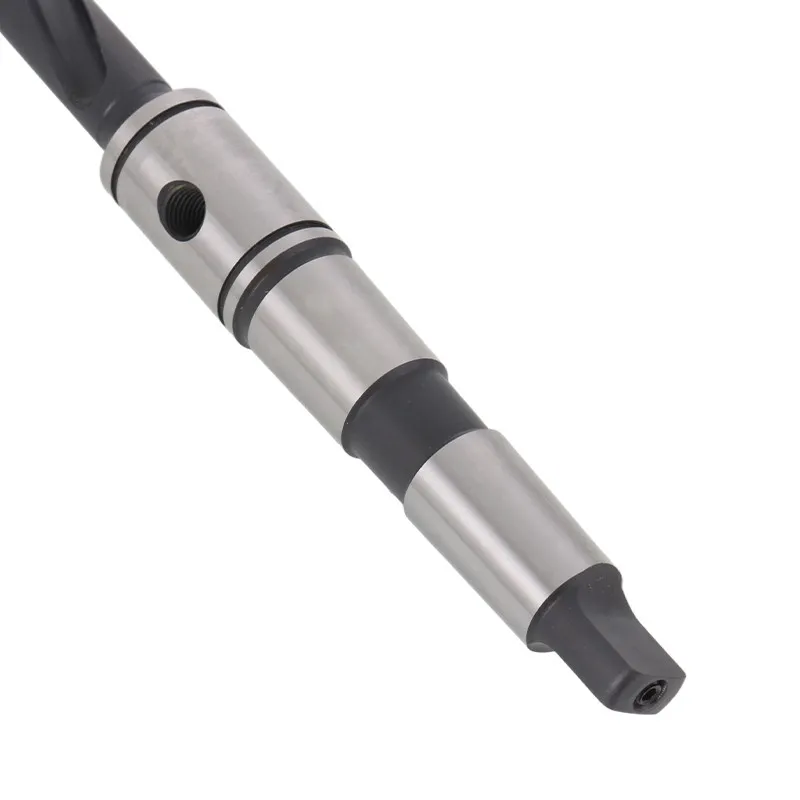
In addition to the size and material of the drill, you also need to consider the type of shank. Spade drills are available with different shank types, including straight shanks, Morse taper shanks, and side-lock shanks. The type of shank you choose will depend on the type of machine you will be using and the specific requirements of your drilling application.
If you are using a drill press or a milling machine, a Morse taper shank may be the best option. Morse taper shanks are designed to fit into the spindle of the machine and provide a secure and stable connection. You can find a wide range of Morse Taper Shank Spade Drills on our website.
On the other hand, if you are using a hand drill or a portable drill, a side-lock shank may be more suitable. Side-lock shanks are designed to be easily inserted and removed from the drill chuck, providing quick and convenient tool changes. You can explore our selection of Side-Lock Spade Drills for your specific needs.

Preparing the Workpiece
Once you have selected the right spade drill, the next step is to prepare the workpiece. This involves marking the location of the hole and securing the workpiece to prevent it from moving during drilling.
To mark the location of the hole, you can use a center punch or a scribe. Place the center punch or scribe at the center of the desired hole and make a small indentation. This will help guide the drill bit and prevent it from wandering.
Next, secure the workpiece to a workbench or a vice using clamps or other suitable fastening methods. Make sure the workpiece is firmly held in place to prevent it from moving or vibrating during drilling.
Setting Up the Drill
Before starting the drilling process, it's important to set up the drill properly. This includes adjusting the speed and feed rate of the drill to match the material and the size of the drill bit.
The speed of the drill is determined by the rotational speed of the drill bit. The speed should be adjusted based on the material you are drilling and the size of the drill bit. Generally, a higher speed is recommended for drilling softer materials, while a lower speed is recommended for drilling harder materials.
The feed rate of the drill is the rate at which the drill bit advances into the workpiece. The feed rate should be adjusted based on the material and the size of the drill bit. A higher feed rate is recommended for drilling softer materials, while a lower feed rate is recommended for drilling harder materials.
It's also important to lubricate the drill bit to reduce friction and heat generation. You can use a lubricant such as cutting oil or coolant to lubricate the drill bit during the drilling process.
Drilling the Hole
Once the drill is set up and the workpiece is prepared, you are ready to start drilling the hole. Follow these steps to ensure a successful drilling operation:
- Align the drill bit: Place the drill bit over the marked location on the workpiece and align it with the center punch mark. Make sure the drill bit is perpendicular to the surface of the workpiece.
- Start the drill: Turn on the drill and slowly lower the drill bit into the workpiece. Apply gentle pressure to the drill to start the drilling process.
- Maintain a steady feed rate: As the drill bit penetrates the workpiece, maintain a steady feed rate to ensure a smooth and consistent drilling operation. Avoid applying too much pressure, as this can cause the drill bit to break or damage the workpiece.
- Monitor the drilling process: Keep an eye on the drilling process and watch for any signs of overheating or excessive vibration. If you notice any problems, stop the drill immediately and adjust the speed or feed rate as needed.
- Finish the hole: Once the drill bit has penetrated the workpiece to the desired depth, slowly lift the drill bit out of the hole. Make sure to clean the drill bit and the workpiece to remove any chips or debris.
Drilling Different Hole Sizes
Spade drills can be used to drill holes of different sizes. To drill a larger hole, you can use a step drill or a series of spade drills with increasing diameters. Here's how you can drill different hole sizes using spade drills:
- Small holes: For small holes, you can use a single spade drill with the appropriate diameter. Make sure to follow the steps outlined above for drilling a single hole.
- Medium holes: For medium-sized holes, you can use a step drill or a series of spade drills with increasing diameters. Start by drilling a small pilot hole using a small-diameter spade drill. Then, gradually increase the diameter of the drill bit until you reach the desired hole size.
- Large holes: For large holes, you may need to use a combination of spade drills and other drilling tools. You can start by drilling a series of small holes around the perimeter of the desired hole using a small-diameter spade drill. Then, use a larger-diameter spade drill or a hole saw to remove the remaining material.
Maintenance and Care
To ensure the longevity and performance of your spade drills, it's important to maintain and care for them properly. Here are some tips for maintaining and caring for your spade drills:
- Clean the drill bit: After each use, clean the drill bit to remove any chips or debris. You can use a brush or a cloth to clean the drill bit.
- Sharpen the drill bit: Over time, the cutting edge of the drill bit will become dull. To maintain the cutting performance of the drill bit, you need to sharpen it regularly. You can use a sharpening stone or a drill bit sharpener to sharpen the drill bit.
- Store the drill bit properly: When not in use, store the drill bit in a dry and secure place. You can use a drill bit case or a toolbox to store the drill bit.
Conclusion
Using a spade drill to drill holes of different sizes is a relatively simple process, but it requires some knowledge and skill. By following the tips and techniques outlined in this blog post, you can use spade drills effectively and achieve the desired results.
As a spade drill supplier, we are committed to providing our customers with high-quality spade drills and comprehensive technical support. If you have any questions or need further assistance, please feel free to contact us. We look forward to working with you and helping you meet your drilling needs.
References
- ASME B94.11M-1993. American National Standard for Twist Drills - Dimensions.
- ISO 235-1:2006. Parallel shanks for tools - Part 1: Dimensions.
- ANSI/ASME B5.10-1994. American National Standard for Machine Tapers - Self-Holding Tapers.